
Ask the Builder: Baseboard and casing installation basics
Last weekend, I had the good fortune to show my son how to install wood baseboard and interior door casing. We’re in the final stages of finishing over 1,000 square feet of living space in the basement of his three-year-old home. We only work on Saturdays because of his job constraints, and Sunday is a day of worship and rest for me.
This project began 15 months ago. It took quite a few weeks to frame all of the 2x4 walls that were installed next to the cast concrete foundation walls, as well as all the interior walls that created the individual rooms. I remember telling my son, “The time we take now to get these rough walls perfect will pay off in spades when it comes time to do all the finish carpentry.”
I’m a firm believer that if you want to be a great rough carpenter, you should spend the first year of your career as an apprentice finish carpenter. It’s there that you discover why it’s so important to make sure the walls are square and plumb and have minimal humps in them from studs that sport severe crowns.
You should always install the finished flooring before you begin to install the doors, casings and baseboards. Do whatever is necessary to protect the flooring from damage. We saved the cardboard boxes from the luxury vinyl plank flooring, flattened them out and laid them flat on the floor to create walking paths.
Take your time installing the doors. You want the edge of the door jambs to project 1/32 inch beyond the surface of the drywall. You’ll discover at this point why it’s so important to use perfectly straight studs to create a rough opening for a door. When choosing wall studs for my door jambs I make sure I can see the center of the tree and the concentric growth rings. These studs are almost always perfectly straight and stay straight forever.
The casing looks magnificent if you hold it back 1/4 inch from the inside edge of the door jamb. The first thing I do is create these two fine pencil lines at the top of each corner of the door jamb. Use a standard or mechanical pencil with a very sharp point to make all your marks when doing finish carpentry. The margin of error when making cuts is less than 1/64 inch!
I only use two power tools for the most part when installing baseboard and door casing: my 10-inch sliding compound miter saw and a nail gun that shoots 16-gauge finish nails. The nail gun automatically countersinks the nails. This saves time and eliminates the old-school “beauty” marks left by hammer heads and nail-setting tools that jump off the heads of traditional finish nails.
I cut my two long side pieces of casing first and tack them in place. You make 45-degree-angle cuts because the door and door jambs have 90-degree angles at the top corners. I tack the side pieces of casing in place, making sure I maintain the 1/4-inch spacing away from the edge of the door jamb.
I then measure the precise distance from the two outer top corners of the mitered door casing. Be sure the end of your tape measure is not bent from dropping it on the ground. You’ll get false readings when you hook it onto one of the sharp mitered trim corners.
The top piece of casing should fit like a glove if you cut it to the exact length. You can always cut it about 1/64 inch long and tap it gently into place to get a precision fit that requires no spackle or caulk.
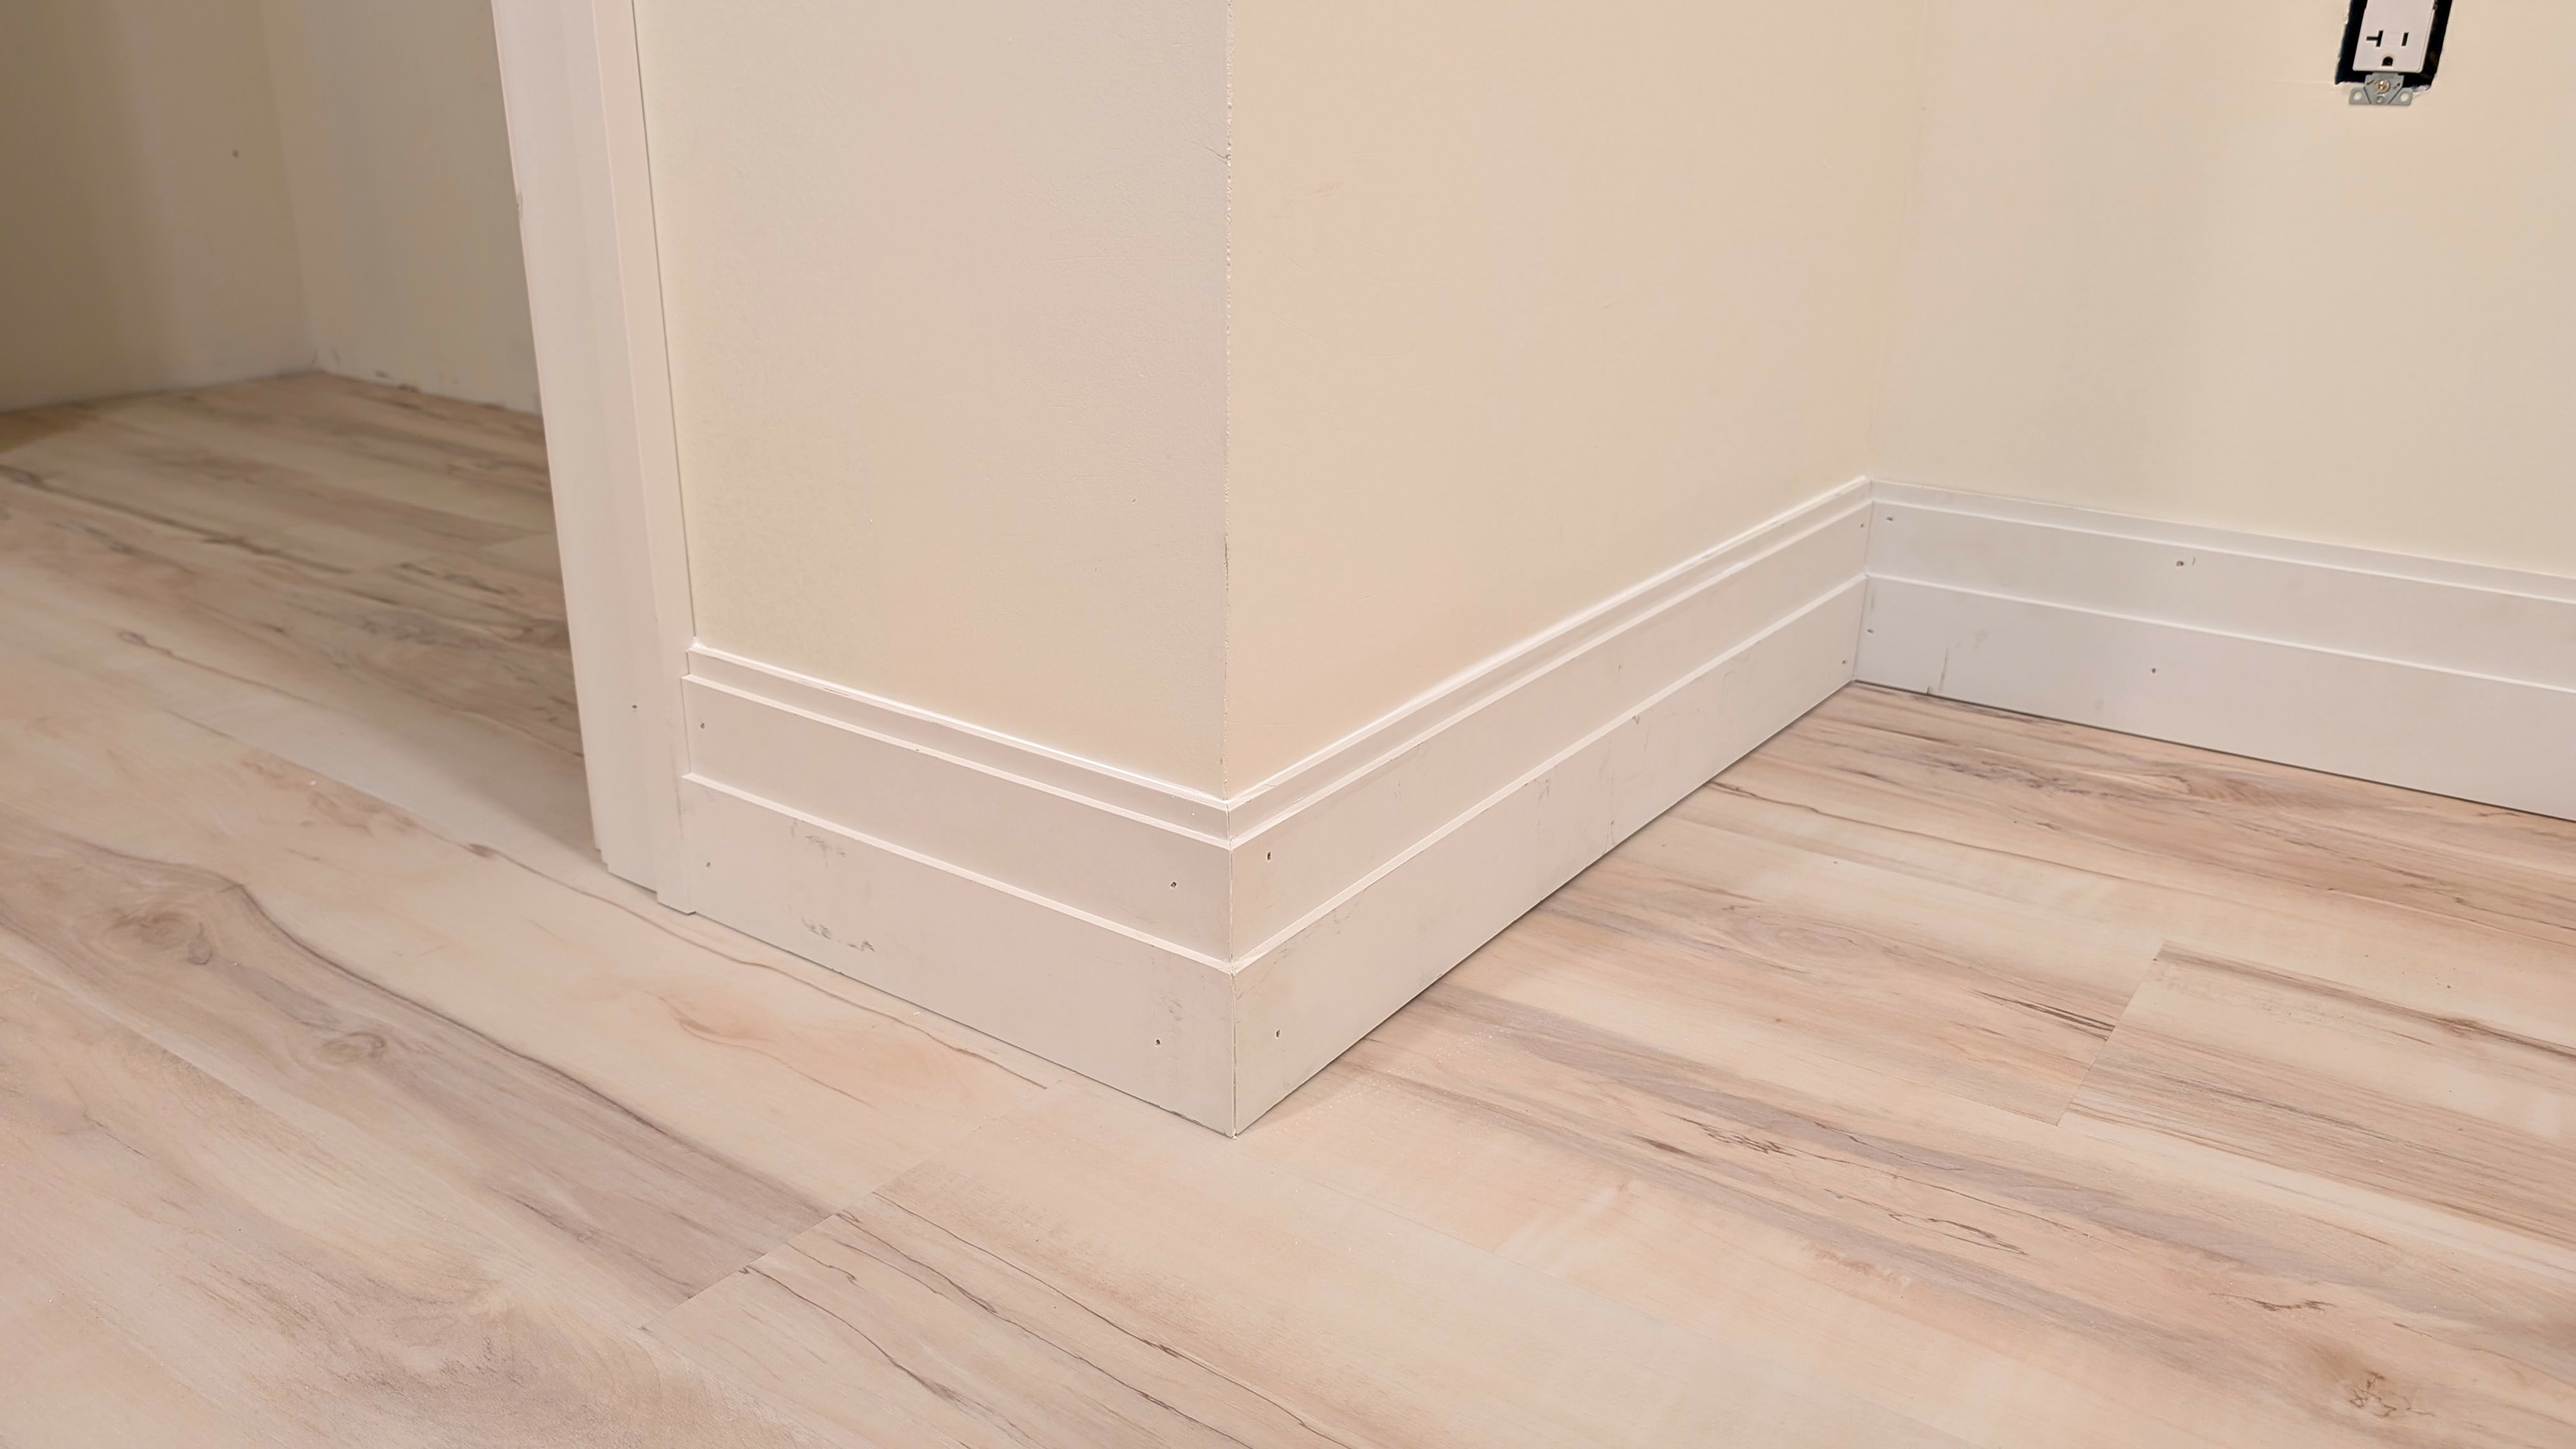
The baseboard installation comes next. I always mark the centerline of the wall studs on the rough floor once the walls are built. I then transfer these marks onto the primed or painted drywall before the flooring covers them up. This way, I know where to drive my finish nails through the baseboard to ensure they hit the center of the stud.
Another trick during framing is to install a small scrap 6-inch length of 2x4 on the side of the king stud that frames the doors. This little block of wood ensures solid framing that captures the nails driven at the end of the baseboard, if you use wide 3.5-inch casing like my son did.
The first pieces of baseboard you should install are along the walls where two inside corners meet. The easiest pieces to install are where the baseboards extend from an inside room corner to an outside corner or along a piece of door casing.
Once you get a perfect fit on your inside corners using a piece of baseboard that is a bit longer than you need, you can mark the baseboard with the pencil at the outside corners or a door casing to get the exact length. There’s no need to measure.
It’s best to purchase a few pieces of inexpensive trim and practice before you waste hundreds of dollars making inferior cuts on your actual trim. Feel free to call me if you get into a finish carpentry pickle!
Subscribe to Tim’s FREE newsletter at AsktheBuilder.com. Tim offers phone coaching calls if you get stuck during a DIY job. Go here: go.askthebuilder.com/coaching
©2025 Tim Carter. Distributed by Tribune Content Agency, LLC.


Comments